
Word Prediction Model - PART 4 - Deploying the model
Published:
This post is the fourth in the series where we build a basic word prediction model using R. At this stage we have already built the model. In this post we will be deploying it on Shiny. You can check the app using this link.. If you have missed any of the previous posts, you can click on the links below to check those out.
Part 1 - Figuring out the problem at hand
Part 2 - Exploring the dataset
Part 4 - Deploying the model
So, welcome to Part 4 of our series. At this stage, we have 4 files which contain bigrams, trigrams, quadgrams and pentagrams along with the prediction file which contains the model to predict subsequent words. We will need these five files in a separate folder.
First, we need the shiny package to deploy the app.
To make it easier in the app, we will transfer all the imports from the prediction_code.R file to the app.R file. We will also include the prediction file as the source in the app.
library(shiny)
suppressPackageStartupMessages({
    library(tidyverse)
    library(stringr)
})

source("prediction_code.R")
The app has two sections:
- front end (ui)
- back end (server)
Front end (ui)
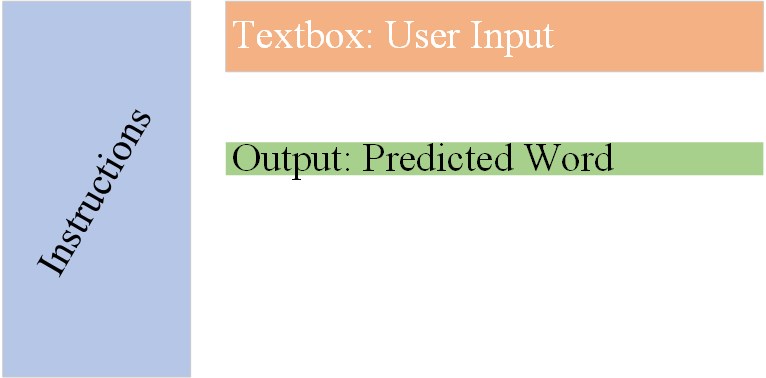
Front end is the stuff that people see and interact with on the app. We have already decided how the app should look like in Part 1 with a very basic drawing made in MSPaint. This to be exact:
So, lets start by writing the ui first:
ui <- fluidPage(
    sidebarLayout(
        sidebarPanel(
            h2("Word Prediction App"),
            h5("1. Select the original text in the text box and start typing. The predictions would appear below."),
            h5("2. The code displays \"...thinking...\" when it is trying to predict a word"),
            h5("3. You can try copying a longer sentence to see what is the prediction."),
            h5("4. The app can process pentagrams i.e. it can predict the 5th word based on the previous 4.")
        ),

        # Main panel with the textbox for input and the output
        mainPanel(

                tabPanel("predict",
                         textInput("user_input", h3("Your Input:"),
                                   value = "Enter a word or a sentence"),
                         h3("Prediction:"),
                         h4(em(span(textOutput("predicted_word"), style="color:blue"))))
            )

    )
)
You can see we have made the app fluid. That means, the user doesn’t have to do anything other than entering the text in the textbox. The prediction code will run every time the user enters a complete word and try to predict the next word.
Back end (server)
This is the place where we define the prediction algorithm. We simply link our prediction() from our prediction_code.R file and pass it on to the server side.
server <- function(input, output) {

    output$predicted_word <- renderText({
        prediction(input$user_input)
    })

}

# Run the application
shinyApp(ui = ui, server = server)
Final deployment
RStudio makes it really easy to deploy on Shiny. We just click the Publish button and it takes us to a dialog box where we can select all the supporting files that would be needed for our app. In our case, its the four n-gram lists and the prediction_code.R file along with our app.R file.
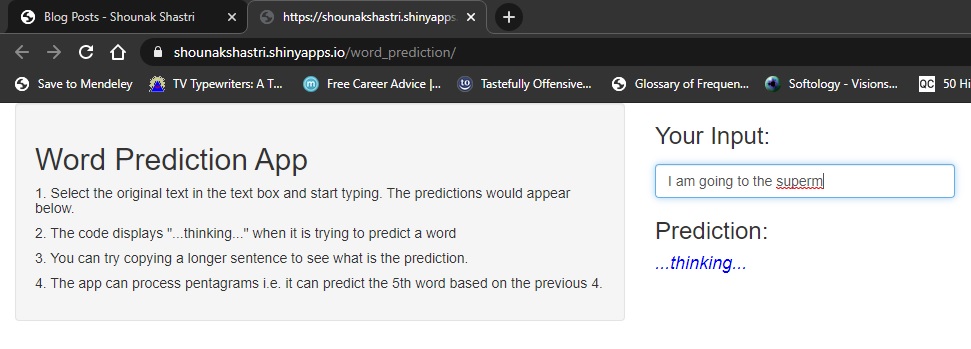
After deployment the app looks like this:
![]()
When the user enters some text:

When the app is trying to predict the next word
You can access the completed app on this link. This link is not registered and will not appear if you google it. You just have to follow it through this page.
So this is how we make and deploy a basic word predicting application. In the next part we will conclude the series and reflect upon what we have created here. We will see which aspects of the app work well and which aspects need improvements.